Evaluating Exago – Linux
Welcome to Exago! We’re glad to have you here. This article will serve as a home base for preparing your environment for an evaluation of Exago BI.
Exago’s entire library of documentation is accessible through this Support Site. As the breadth of the product is wide, this article serves to narrow that scope down, quickly guiding you through the necessary steps for getting up and running.
Tip
All links to documentation from this page will open in a new tab/window. Keep this tab open and use it as a checklist throughout the setup process.
If you have any questions along the way, contact your Exago Account Executive.
Table of Contents
Use the links below to skip to the relevant section of this article. Steps to get up and running with Exago are:
- Plan for the Exago Installation
- Download and Install Exago
- Initialize the Exago configuration
- Additional Steps
Finally, the Additional Resources section at the end of the article is where you can learn more about the product and the resources available to you as an Exago client.
1. Plan for the Exago Installation
1.1 Review the technical specification requirements
Review the Linux and Data Sources sections of the Technical Specifications article to make sure your environment is suited for Exago.
Optionally, review the Assumptions and Client’s Installations sections of the Considerations When Sizing an Exago System article for details on minimum hardware requirements.
The Exago installer is capable of installing the correct version of the Mono runtime. If Mono is already installed, or you are not sure, try removing Mono before installing Exago. It is highly recommended to allow the Exago installer to install the Mono runtime to insure maximum compatibility.
Exago is not immediately compatible with SELinux or AppArmor. Disable these features before beginning the installation. They can be turned back on and configured to work with Exago at a later time.
Tip
The server where Exago is installed will need to be accessible to all participants in the evaluation process.
1.2 Prepare data sources
The required database drivers must be installed and configured on the target Exago BI evaluation server before a connection can be made. Review the Drivers section of the Data Sources article.
Important
The Exago Linux Installer does not install a MySQL ADO.NET driver at the time of installation. Instead, clients wishing to use a MySQL data source for either reporting or for Storage Management will need to provide their own.
Exago has provided wrappers around two popular MySQL data drivers that clients may choose to install on their own.
- Devart dotconnect free edition
- MySQL ADO.NET
Contact your Account Executive or the Exago Support Team for assistance.
Prepare a standard connection string for all of your business intelligence data stores. https://www.connectionstrings.com/ is an excellent resource for sample connection strings.
2. Download and Install Exago
2.1 Setup Web Server
The Exago Linux installer requires that the web server (either Apache or NGINX) be installed, configured and functional before running.
2.2 Setup Support Site account
Check your email for a message from [email protected] with login credentials for the Support Site. With those credentials you will be able to download and install the Exago application.
Contact your Exago Account Executive if you cannot find the e-mail.
2.3 Download the Exago installer
Complete these steps on the Exago server:
- On the top-right corner of this page, click the Sign in link.
- Enter your email address and Exago Support Site password.
- Click the Downloads link at the top of the page.
- Scroll down to the Evaluation Installer section and then click on the Exago vxxxx.x Release x button.

- Check the I have read the EULA and accept the terms and conditions checkbox.
- Click the Linux Download button.

2.4 Install Exago
Once the download is complete, follow the steps below to unpack and install Exago on the server:
- Decompress the download:
tar zxvf ExagoInstaller_vX.X.X.X.tgz
- Change to the newly created
Installerdirectory.cd Installer
- For evaluation purposes, a full installation of all three Exago components with all of the defaults is recommended. This command will automatically install the Mono runtime, the Exago Web Application, the Scheduler Service and the REST Web Service API.
sudo ./installExago.sh -D -y
Wait for the Installation of Exago is now complete message to appear.
2.5 Open the Admin Console
If you are using Apache, restart it before proceeding.
If you are using NGINX, some additional configuration is required before proceeding. Follow the instructions in Configure NGINX and Start Listeners sections in Installing Exago on Linux before returning to this article.
To test that the new installation is working, navigate to the Administration Console. By default this is http://<YourServer>/Exago/Admin.aspx
If a page like the one below appears, congratulations, Exago is installed successfully!
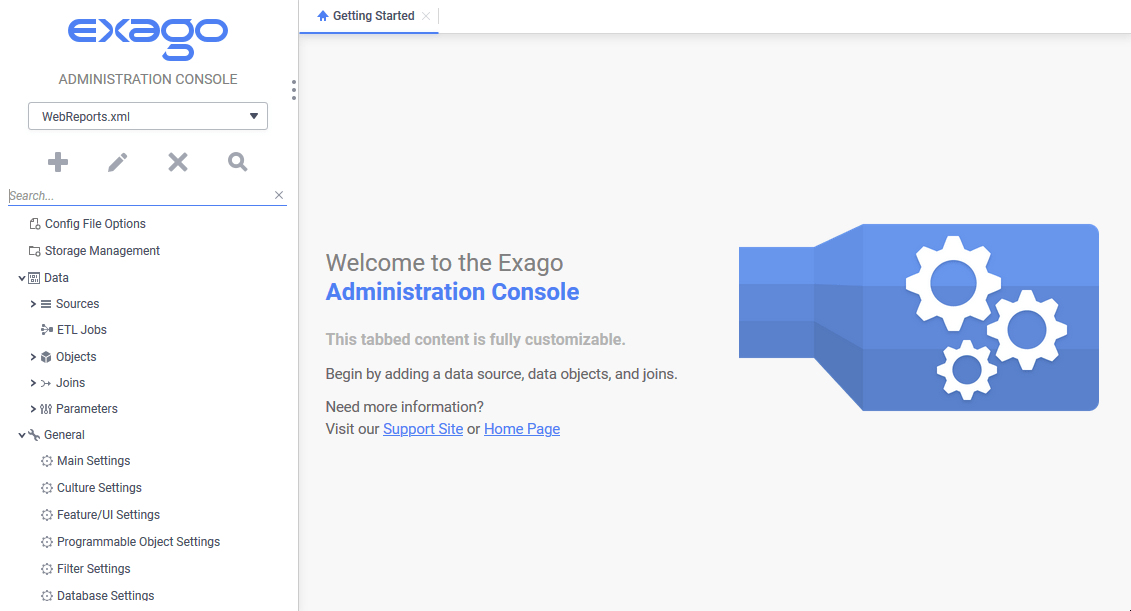
The Exago Administration Console
3. Initialize the Exago Configuration
Now that Exago is installed and running on the server, some configuration is necessary to get the system ready for use. All of the configuration steps in the following section take place in the Administration Console launched in step 2.5.
3.1 Configure Storage Management
During the evaluation period, you’ll use a local SQLite database file for content storage. The SQLite file can be easily converted to a production environment at a later time.
In the Admin Console, double-click on the  Storage Management item in the pane on the left. Verify the following settings match:
- Database Type: SQLite
- Database Provider: Sqlite
- Database Connection: Data Source=/opt/Exago/Config/StorageMgmt.sqlite
Click the Prepare Database button, then click the Okay button on the confirmation dialog. A Connection to database was successful message should appear. Click Dismiss. Click the Load Themes button, and then click Dismiss when the confirmation message appears.
Continue to verify the other settings in this section match. Add user as the Owner Id.
- Class Id: admin
- Company Id: company
- User Id: user
- Owner Id: user
The remainder of the settings in this section can be left at their system defaults.
Click Okay at the bottom of the Admin Console to save the settings.
3.2 Add a data source
Use the instructions in the Data Sources article to connect Exago to your business intelligence data source. Choose v2020.1 from the Viewing content for dropdown.
You will use the connection strings from step 1.2 Prepare data sources here.
3.3 Add data objects and joins
Now that a Data Source is connected, the data objects (tables, views, stored procedures, joins etc…) from that source can be added to the system.
Use the instructions in the Data Objects article to do so. Be sure to choose v2020.1 from the Viewing content for dropdown in the article.
Once this step is completed, you are ready to begin a basic evaluation of Exago BI. Contact your account executive and begin exploring!
4. Final Steps
If the Exago team has suggested a REST integration, optionally follow the steps below.
- Install a REST client such as Postman or Advanced REST Client (ARC)
- Configure the Exago REST Web Service API, following the guidelines in the Getting Started with REST article. This article contains information for both Linux and Windows installations, review only the sections pertaining to Linux.
- Review the sample integration code provided by your Exago account executive.
